Tutorial: View or Update Family Assessment Details
Use this tutorial to view or update child care details on the Intake page.
|
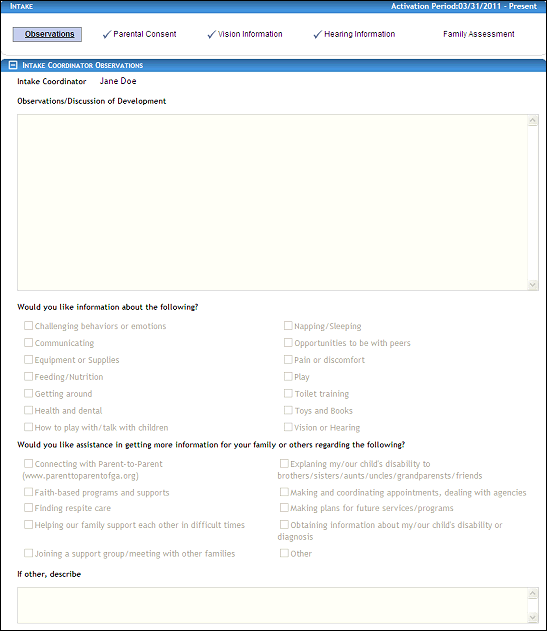
NOTE: After a child has been deemed eligible, the data on the Intake page is read-only and cannot be updated. |

Complete the following steps to perform this tutorial:
-
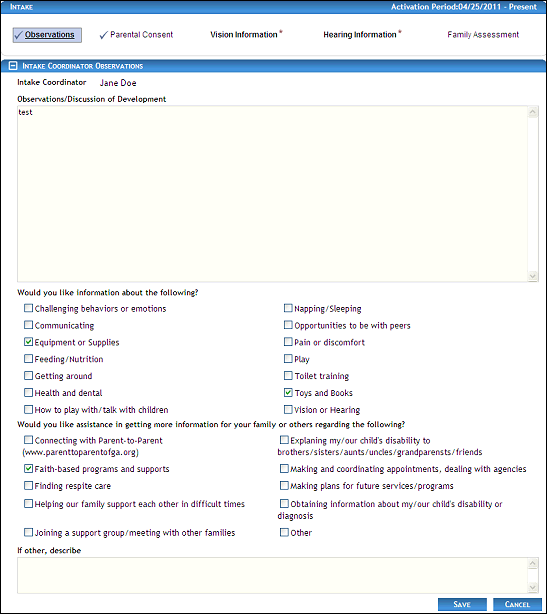
Display the Intake page.
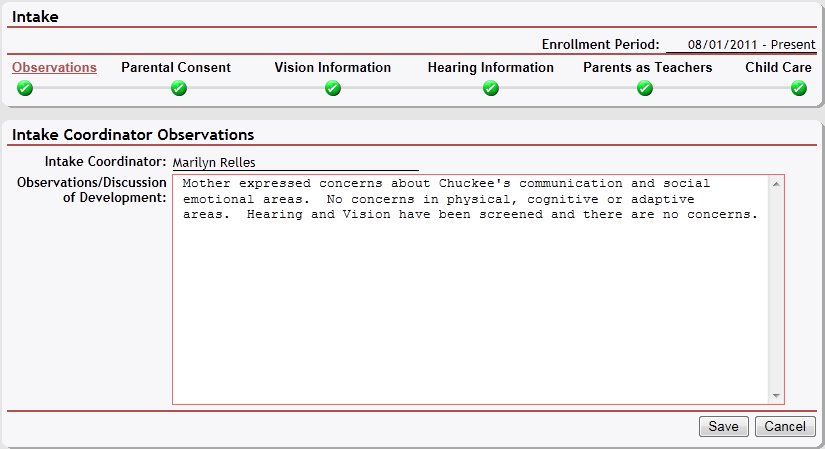
Intake page (default view)
Intake page (default view) for Coordinator/District roles
Intake page (default view) for Provider/State roles
|
NOTE: The Observations link is selected by default, and the page displays detailed observation information in the Intake Coordinator Observations section. Depending on the method of access and your current permissions, the page displays differently and some information may be disabled or unavailable. This page contains collapsible data. Sections can be collapsed by clicking the [-] beside the section heading. Click the [+] to expand the section. |
-
View or select the Activation Period in the Intake heading. If only one Activation Period exists for the child, the Activation Period is read-only.
-
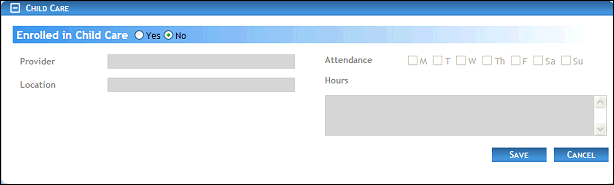
Click the Child Care link. The page refreshes and displays detailed information in a Child Care section.
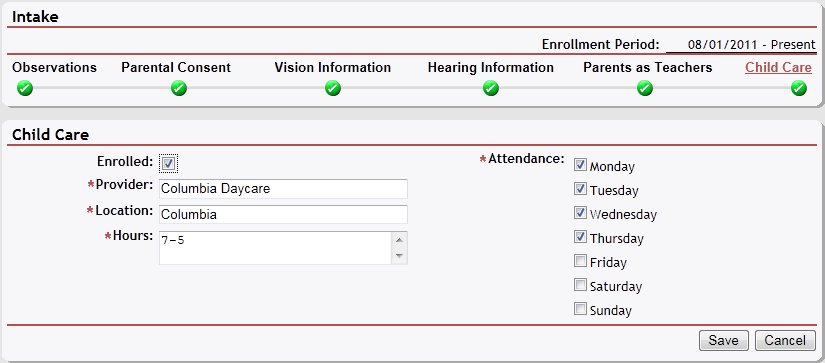
Intake page (family assessment details view)
Intake page (family assessment details view) for Coordinator/District roles
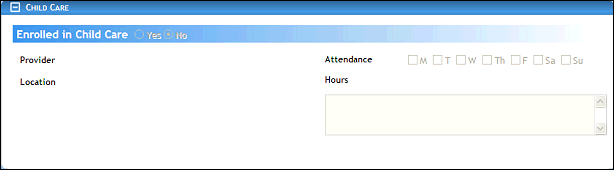
Intake page (family assessment details view) for Provider/State roles
-
View or update the child care details.
In Enrolled in Child Care, select one of the radio buttons to indicate whether the child is enrolled with a child care provider.
In Location, enter the location name. Up to 100 characters can be entered as necessary.
In Provider Name, enter the name of the child care provider. Up to 100 characters can be entered as necessary.
In Attendance, select the check boxes to indicate which days of the week the child is in child care.
In Hours, enter the location's business hours. Up to 100 characters can be entered as necessary.
|
NOTE: Asterisks (*) indicate which fields are required on the page. If required information is missing, an error message displays at the top of the page after saving the data. |
-
Click the Save button. The page refreshes and displays the updated information.
Version 1.6