|
NOTE: Depending on the method of access and your current permissions, this tutorial may not be available. |
Use this tutorial to attach additional messages to a previously-existing message on the Provider Communication Message List page.
|
NOTE: Depending on the method of access and your current permissions, this tutorial may not be available. |
Complete the following steps to perform this tutorial:
Display the Provider Communication Message List page.
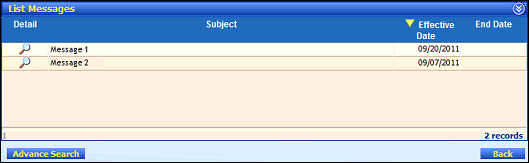
Provider Communication Message List page (default view)
Click the ![]() icon next to a specific message in the Detail column of the List Messages table. The Provider Communication - Message page displays.
icon next to a specific message in the Detail column of the List Messages table. The Provider Communication - Message page displays.
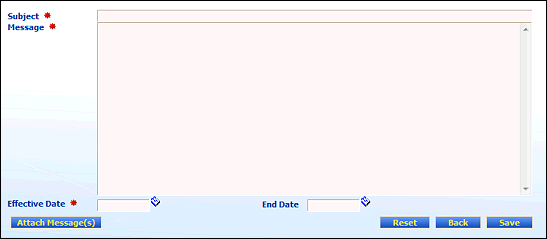
Provider Communication - Message page (default view) for State role

Provider Communication - Message page (default view) for Provider role
Click Attach Message(s). The Attach Message Links page displays.
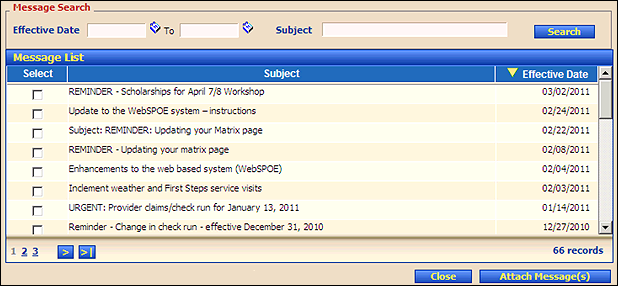
Attach Message Links page (default view)
Under Message Search, complete information in the following fields as necessary to filter the list of messages displayed in the Message List table:
In Effective Date, enter or select the starting date of the date range on which to search. For more information about entering dates, see the Calendar Controls topic.
In To, enter the ending date of the date range on which to search. For more information about entering dates, see the Calendar Controls topic.
OR
In Subject, enter the subject of the message on which to search.
Click Search to perform a search based on the filter criteria entered.
When Search is clicked, results found to match the search criteria specified are displayed in the following column(s) of the table:
Select indicates whether the item is currently attached or assigned (when checked). Click the check box in this column to attach or detach the item.
Subject displays the subject of (or reason for) the message or notification.
Effective Date displays the date on which the item becomes (or became) active or assigned.
|
NOTE: If no results are found, the table displays a single row containing the text: "No Records Found". For more information about tables, see the Tables topic. |
Click Attach Message(s). The Provider Communication - Message page displays.
|
NOTE: Asterisks (*) indicate which fields are required on the page. If required information is missing, an error message displays at the top of the page after saving the data. |
Click Save.
Version 1.6
